Making a Custom Kitchen Island Light Fixture
Brighten up your space with this custom kitchen light fixture!

When Brady and I moved into our project of a house, the kitchen had only one light fixture (which looked like it belonged in a workshop) so I removed that fixture and added recessed lights using that existing circuit, which I show you how to do in this video here.
Shortly after, we decided that we also wanted separate lighting over where we were going to put the new island, so I added a circuit and started thinking about what kind of lights we might want to put up there. With no previous light fixture I was left with pretty much a blank slate. We decided we wanted 3 pendants but weren’t sure about the look (or permanence) of installing them right on/into the ceiling, so I came up with a simple design for a box to mount the pendants to that adds depth to the fixtures.
It’s just another part of the never-ending kitchen renovation going on here at Project Billd…
Resources:
FREE Supplemental Project Plans
Disclaimer: The following post contains affiliate links. If you purchase a product through one of the links, I may receive a small commission (at no cost to you) that I can use to feed the platypus. And it’s always hungry.
(most materials available at your local home improvement store)
3/4" Plywood
13/16" Birch Edge Banding
Wood Filler
Pocket Hole Screws
Primer
Semi-Gloss White Paint
Pendant Lights
2x3 Pine
Construction Screws
Toggle Bolts
Trim Screws
I started making the kitchen light fixture by cutting a large piece for the base and two strips for the sides on the table saw.

Then I cut the strips to length with 45° miters using my miter saw.

I drilled evenly spaced pocket holes into the strips so I’d have a way to attach them to the base.

And applied edge banding to the 4 edges of the light fixture base.

I added 3/4 inch deep reveal lines as reference for setting the wooden strips back from the edge.

And drilled 3 holes through the base for the center of the light fixtures.

I placed a pendant light wire through one of the holes that I just drilled and marked the 2 screw mounting holes for each pendant light.

Next I drilled out the screw holes for each of the pendant lights, making sure the hole was just big enough for the screw to fit through.

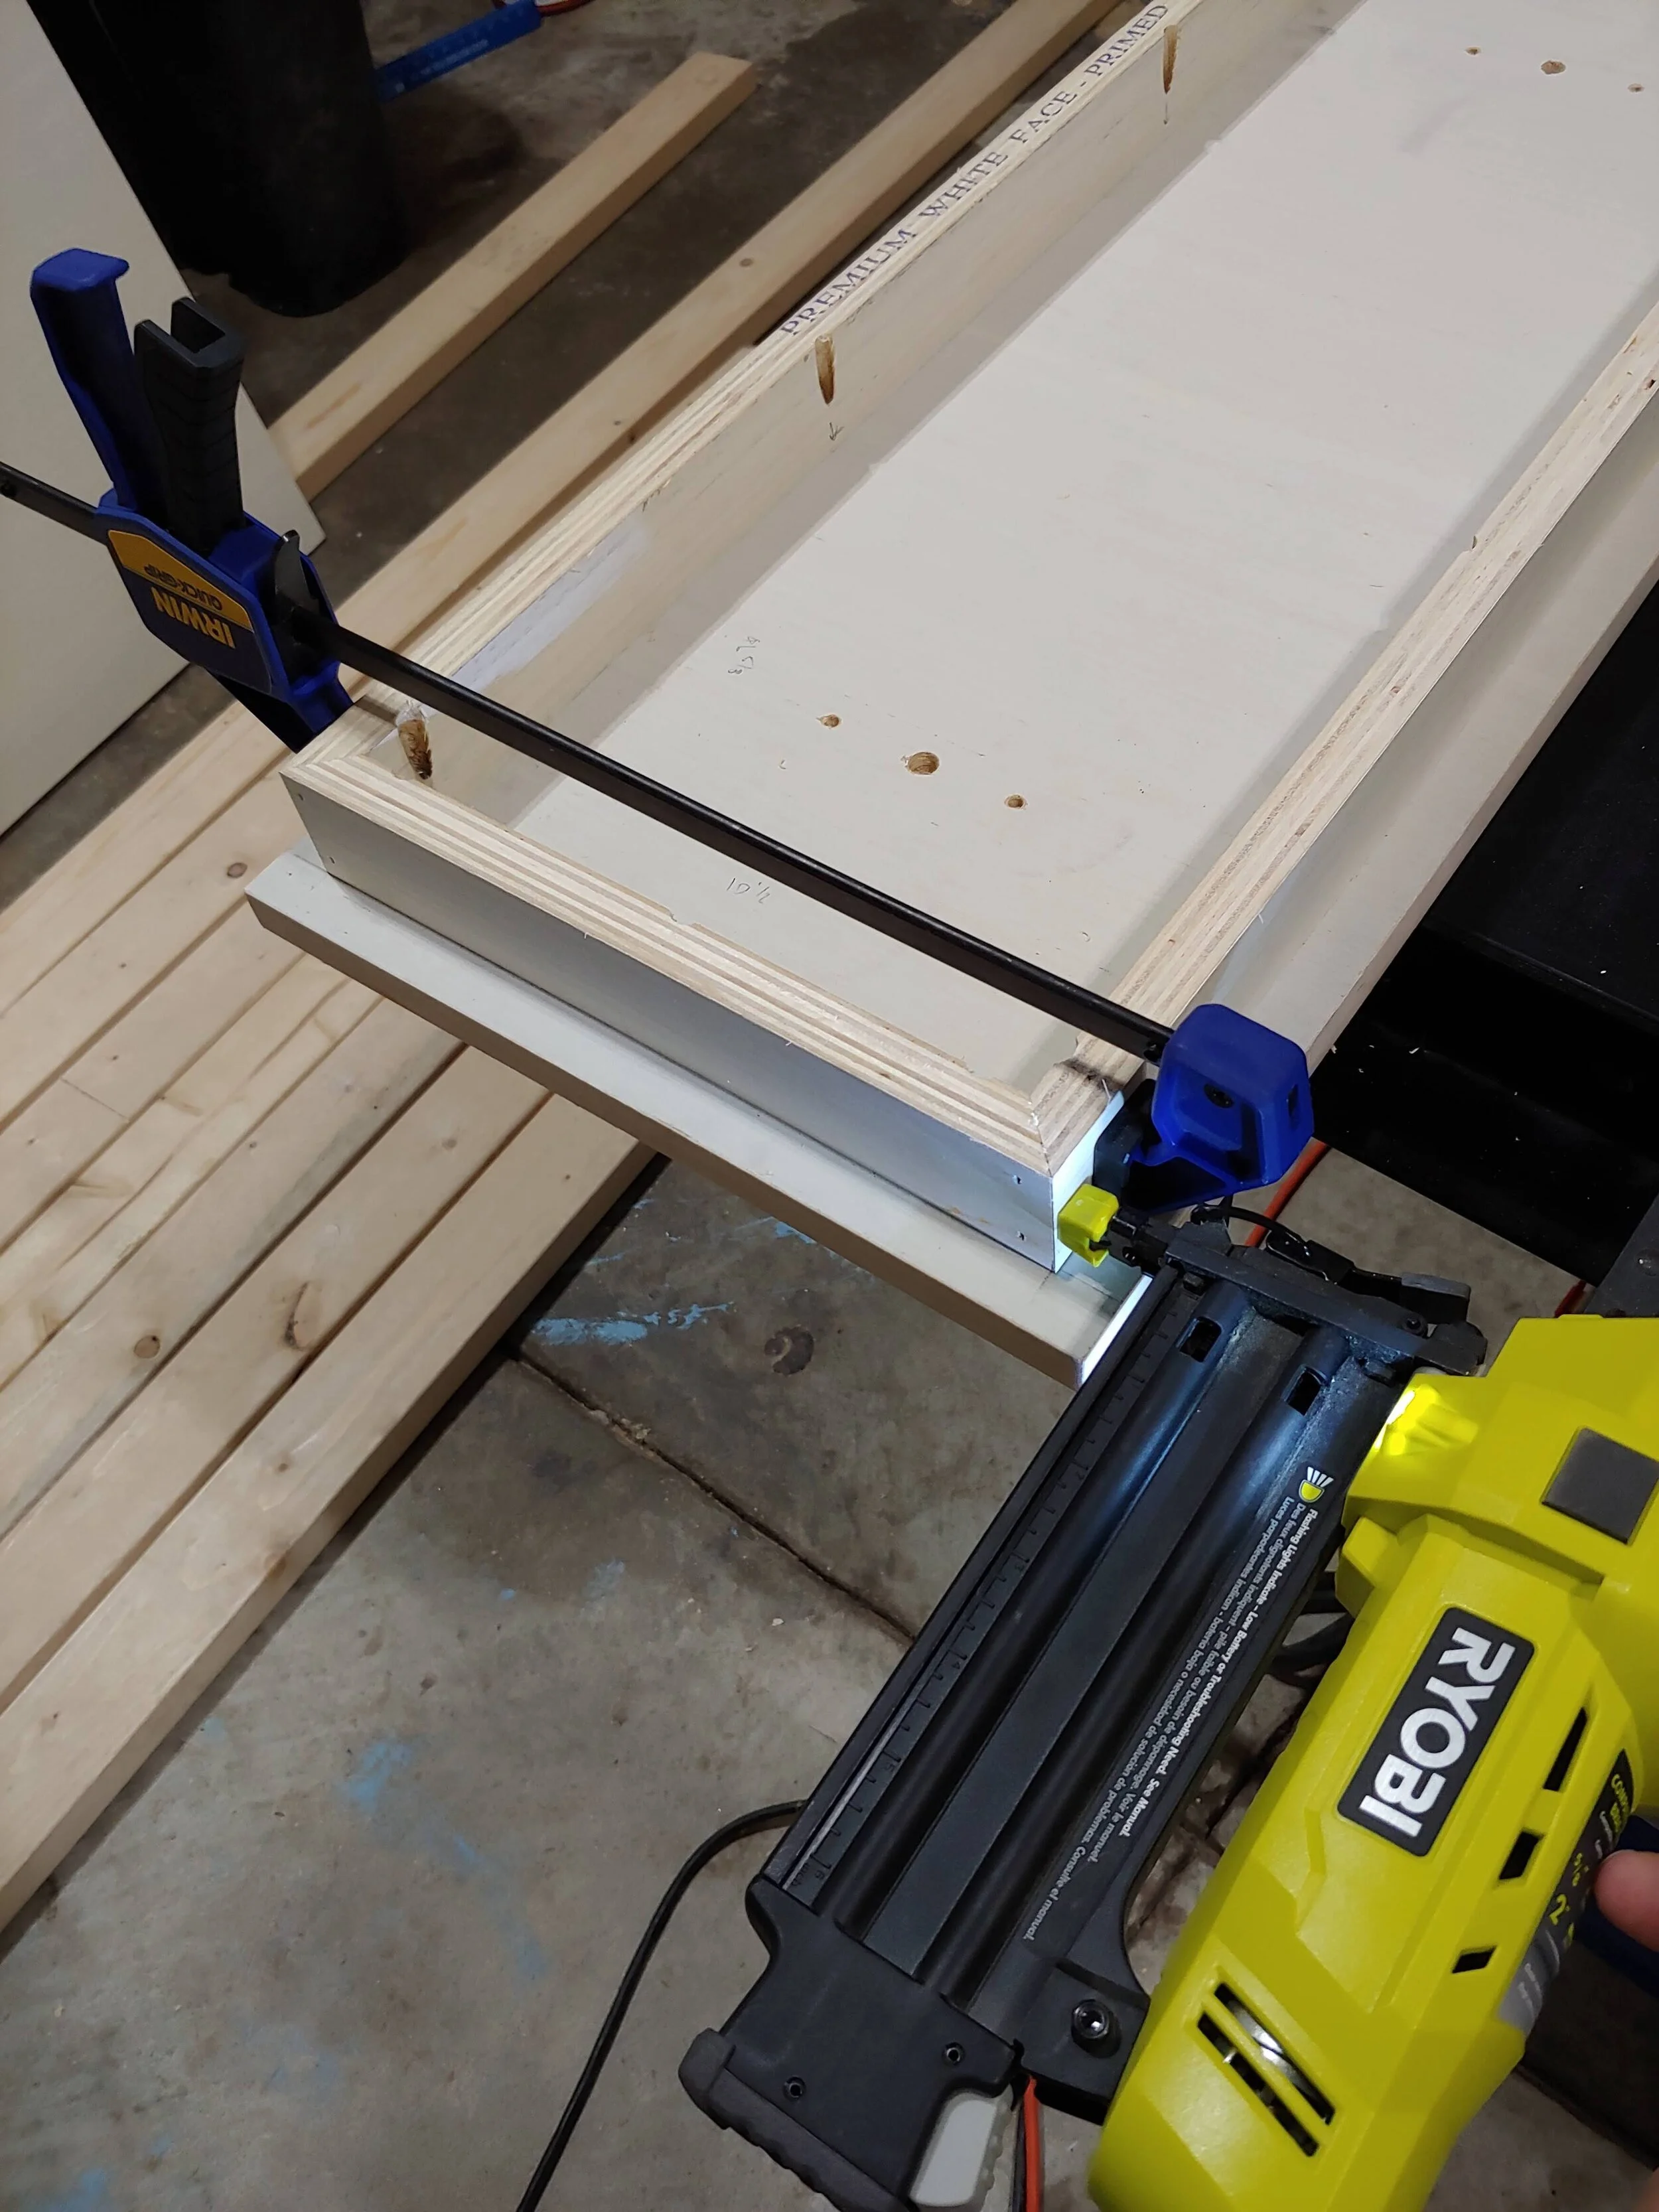
I clamped the strips for the sides of the fixture in place up to my reveal lines and screwed it down to the base below.

I tacked the mitered corners together with my brad nailer.
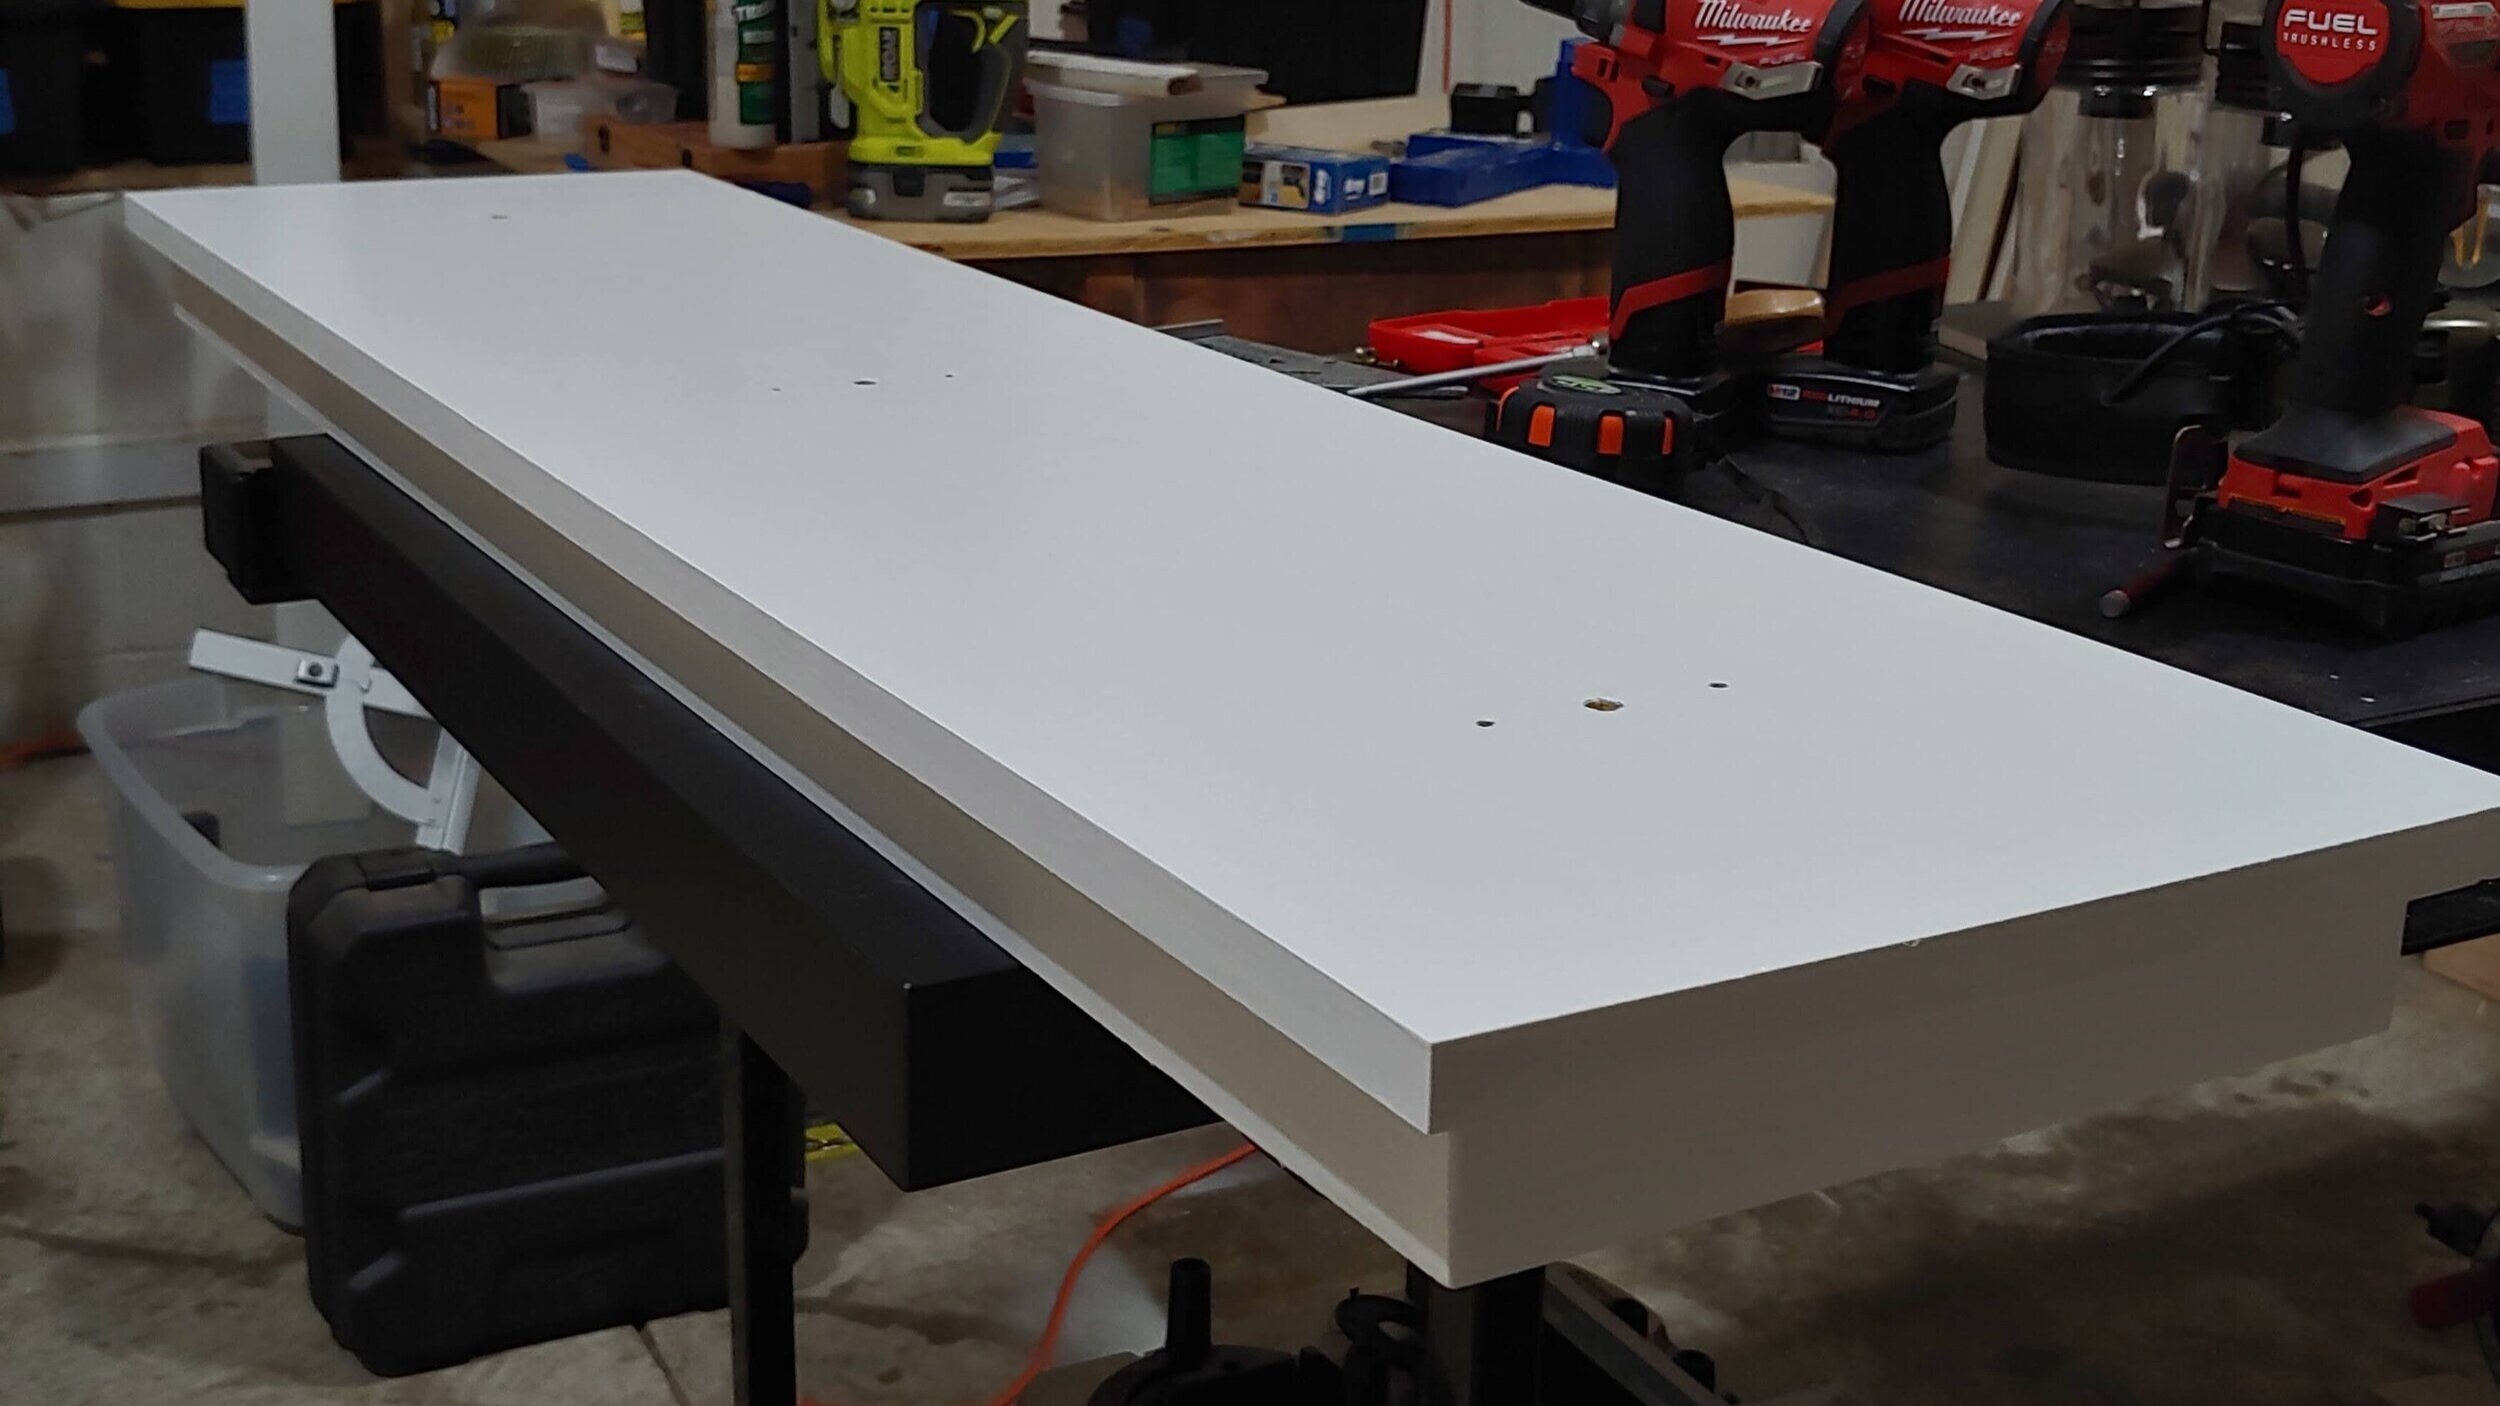
I filled the holes with wood filler. When they were dry I sanded them smooth and it was time for paint!

Brady used a small foam roller to paint the fixture. Here’s what it looks like after two coats of white semi gloss paint!
I attached the pendants to the light fixture by putting the mounting screws through the back and tightening the provided nuts down onto the ends of the screws. These lights normally mount to a bracket that attaches to a ceiling electrical box, so the screws are a fixed length. I was afraid they would either be too short or too long but I found them to be the perfect length for going through 3/4 inch plywood and attaching the light bases. If your base is a different thickness, you’re using different lights, (or if the manufacturer has changed the screws) you may have to get new screws to make this work.
I set the wire length, from the top of the light to the bottom of the mount base, to approximately 26 inches for each of the pendant lights as this puts my eye level just below the bottom of the glass of the pendant light when the fixture is installed on my ceiling. This length will vary based on your height and the room you’re putting the fixture in.

I cut the wires for each light so they’d meet at the middle of the fixture with some slack, stripped the insulation with a utility knife and the individual wires with a wire stripper, and twisted all the respective wires: hot (black), neutral (white), and ground (green/bare) together using wire nuts. However, I recommend using a connector like this instead. I’ve been using these push-in connectors in more recent projects and they would have allowed me to skip the 4th wire I added to connect to the line in the ceiling, and to just plug the wires from the ceiling directly into the 4th spot on the connectors. Much easier!

I added four 9 inch long pieces of 2x3 to the ceiling in the short direction of the light fixture, aligning them with a laser level and screwing them into the joists where possible with construction screws to give the fixture something to attach to. It would have been easier if I had been able to run 2 pieces in the direction of the long edges instead. However, the location of the fixture and the joists above determine what kind of supports you are able to put up. My joists run parallel to the long edge of the fixture so I used toggle bolts to support the closer end of the supports in the photo below where I couldn’t screw them directly to the joists above. (It’s preferred if your joists run perpendicular to the long edge of the light fixture so the supports can span multiple joists but every kitchen will be different!)

Then I put up the light fixture, first attaching the wires to the power coming through the ceiling. Be sure to get someone to help hold the fixture while you’re attaching the wires! Once wired, I screwed through the sides of the light fixture into the ceiling supports using trim screws and added some white paint to cover the heads of the screws.

I put in a some vintage style led bulbs and I‘m really happy with how it turned out!


The kitchen is coming along, and at this rate it will be beautiful in 10 short years!

I'd love to hear any questions or thoughts about making the light fixture that you might have so be sure to let me know in the comments!
If you're not already subscribed to Project Billd content you can do that here and if you want to see more projects like this one be sure to check out my other projects on this site!
Until next time, Go Billd Yourself!
Don’t miss a thing!
Subscribe to get the latest content