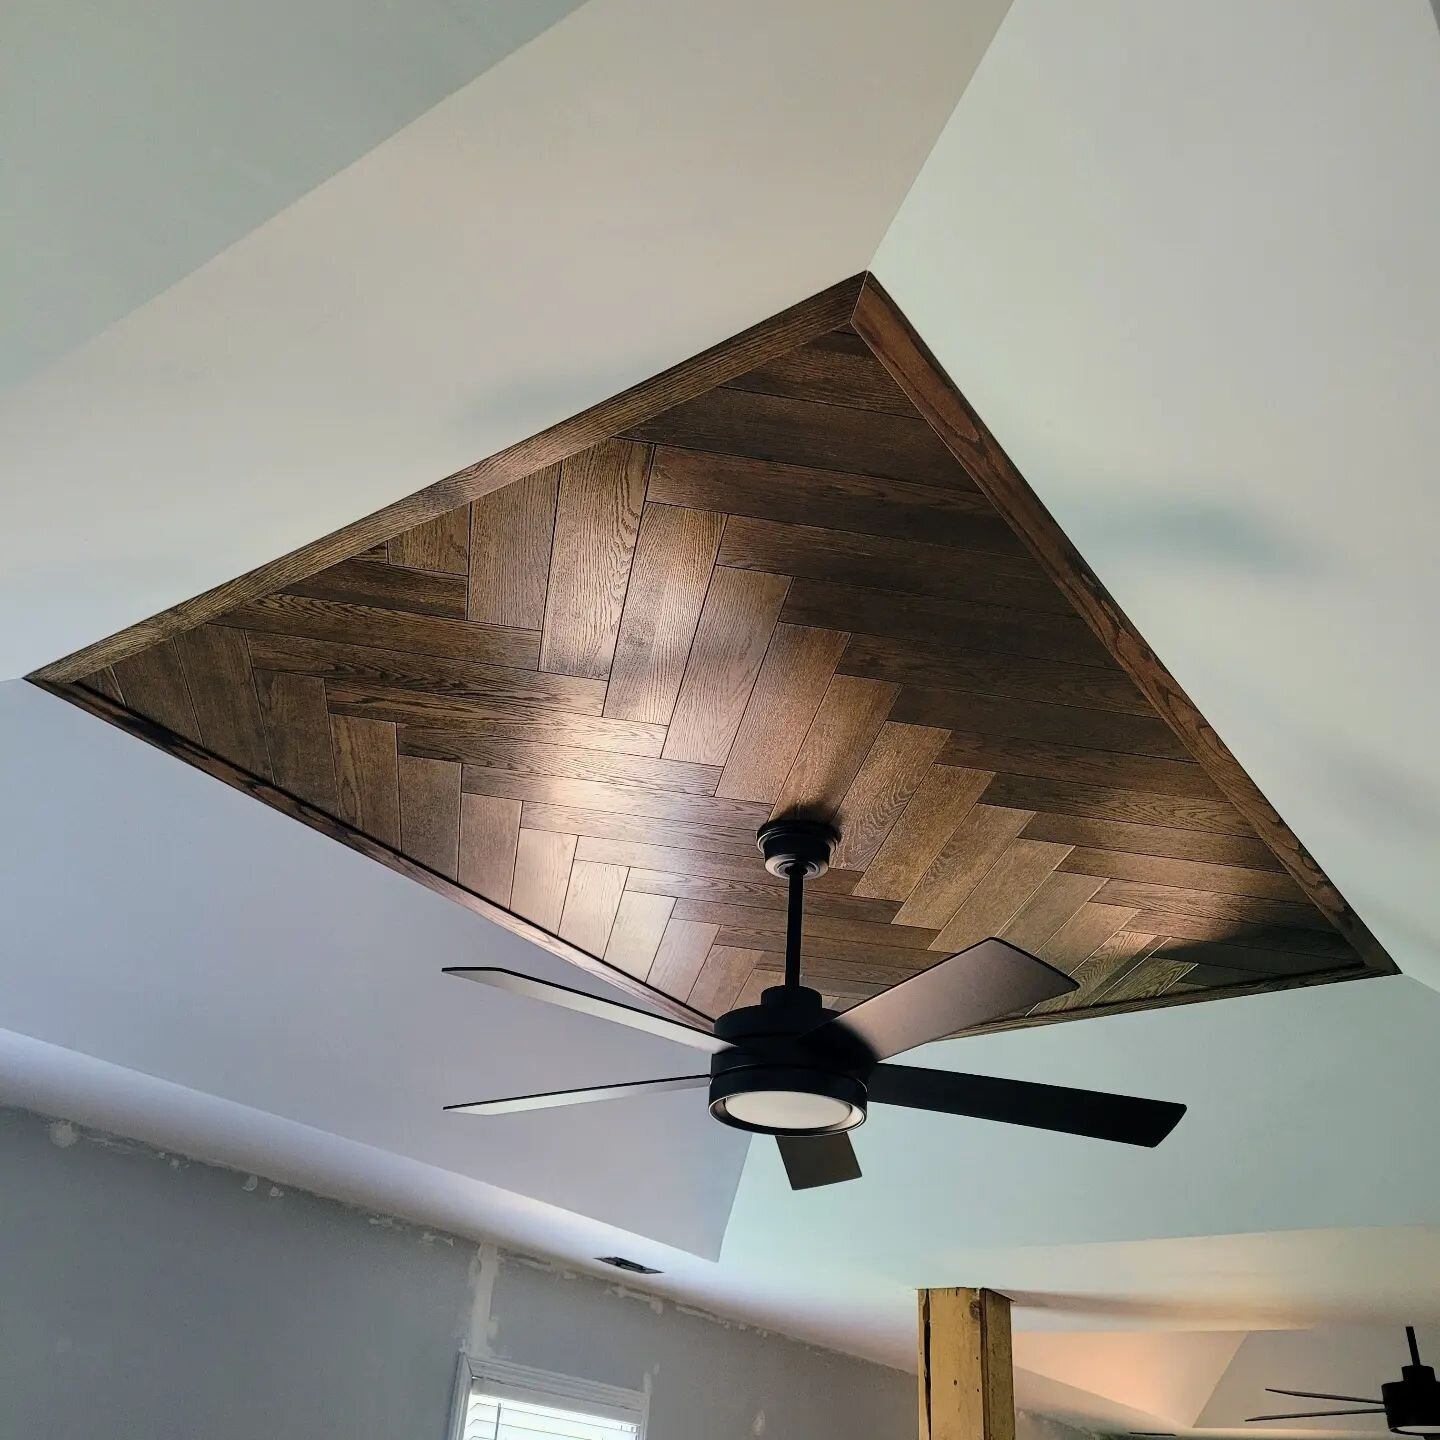
How to Make and Install a Herringbone Ceiling
Learn how to turn your old boring ceiling into a new pretty ceiling by adding a herringbone pattern to improve its appearance and make all your friends go oooh and ahhhh!
Disclaimer: The following post contains affiliate links. If you purchase a product through one of the links, I may receive a small commission (at no cost to you) that I can use to feed the platypus. And it’s always hungry.
(most materials available at your local home improvement store)
1/4" Backer Plywood
1/4" Oak Plywood
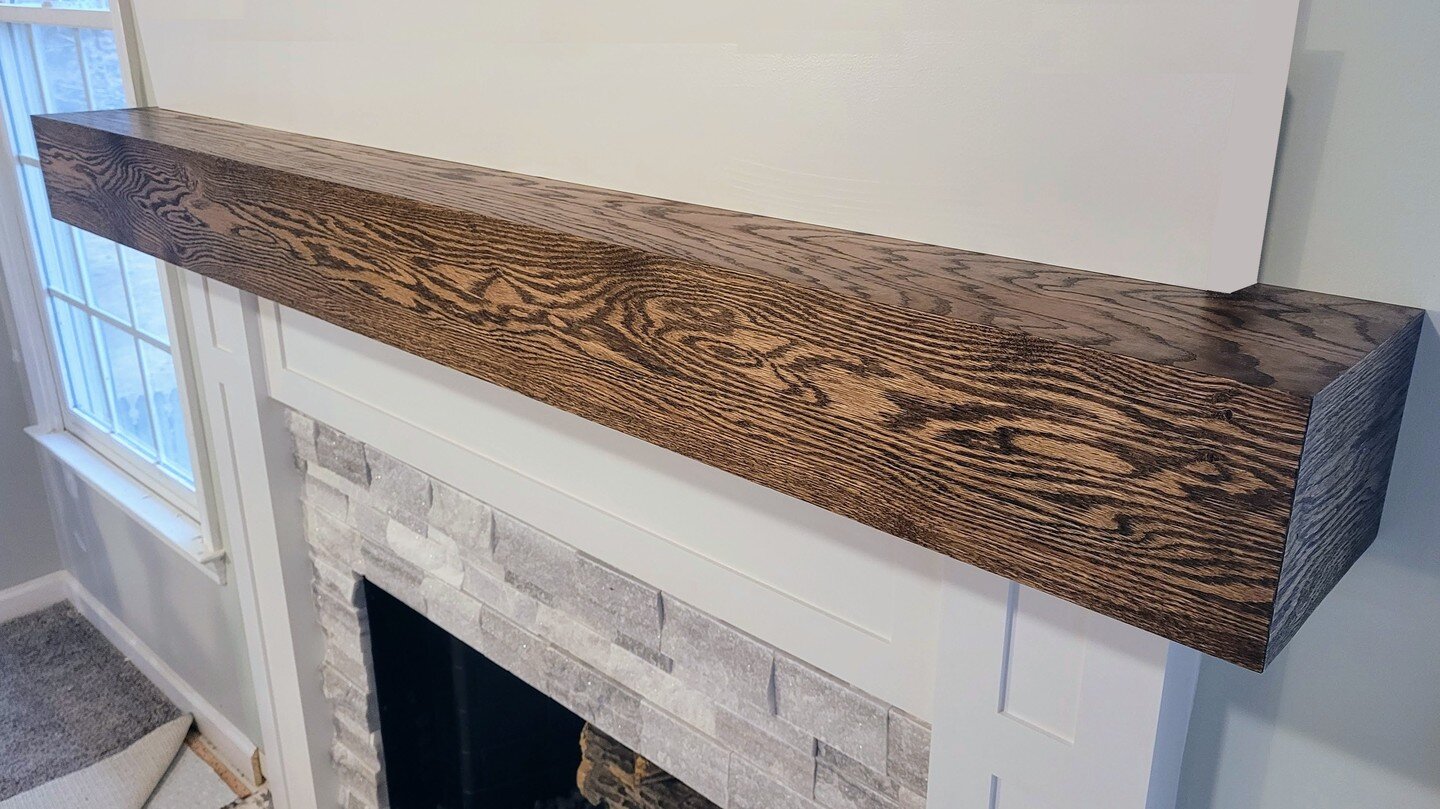
Dark Walnut Stain
Wood Glue
Lambswool Stain Applicator
Satin Polyurethane
3/4" Oak Boards
Ceiling Box Extender
Ceiling Fan
(in order of appearance in the video)
Ratcheting Screwdriver
Non-Contact Voltage Tester
Measuring Tape
Drywall T-Square
Clamping Straight Edge
Circular Saw
Portable Drill
Jigsaw
Stud finder
Brad Nailer
Laser Level
Countersink Drill Bits
Impact Driver
Table Saw
Table Saw Push Blocks
Miter Saw
Chamfer Router Bit
Router
Random Orbital Sander
Sanding Discs (150, 220 Grit)
Pin Nailer
Nail Puller Pliers
Hand Sander
Band Saw
Thickness Planer
Angle Finder
Angle Gauge
Magnetic Featherboard
If you liked the video be sure to give it a thumbs up on YouTube and I'd love to hear any questions or thoughts about making and installing the herringbone ceiling that you might have so be sure to let me know in the comments section!
If you're not already a subscriber consider subscribing and if you want to see more projects like this one be sure to check out my other projects on this site!
Until next time, Go Billd Yourself!
Don’t miss a thing!
Subscribe to get the latest content