How to Make Deep Pull Out Garage Shelves
Make it easy to get to the back of a deep shelf!
Here at Project Billd headquarters, I’m always looking for ways to make my work space more efficient. Sometimes it’s a clever solution that takes a lot of planning and sometimes it’s an obvious improvement. Building these shelves was a bit of both, as making the shelves was an obvious upgrade but having the lower shelves slide out… that’s kind of cool!
I have a deep and tall alcove in the garage that was mostly wasted storage. I wanted to come up with a simple design for a pull out shelf that allows me to reach the things stored at the back of the lower shelves so I don’t have to crouch down and crawl back in there.
The shelves give me a great place to store large seldom used tools (portable miter saw, tile saw, etc.) as well as a nice place to hide from Brady when she’s trying to get me to clean the dishes. Nobody tell her to look there, k?
Disclaimer: The following post contains affiliate links. If you purchase a product through one of the links, I may receive a small commission (at no cost to you) that I can use to feed the platypus. And it’s always hungry.
(most materials available at your local home improvement store)
2x4x8 Pine
4x8 3/4" Plywood
Construction Screws
3/4" Wood Screws
Structural (Lag) Screws
(in order of first use in the project)
Oscillating Multitool
Tape Measure
Table Saw
Countersink Drill Bits
Portable Drill
Impact Driver
Jigsaw
Speed Square
Circular Saw
Stud Finder
Level
Step Ladder
Here’s the empty space we’re working with to build these shelves. It’s just begging for an upgrade! Every space is going to be different, so if you’re going to be making similar shelves for your space, use this post as a guideline and modify the dimensions/materials/etc. as needed to make the shelves fit your space!

I started by cutting off the existing trim in line with the side of the opening using my oscillating multitool. This alcove has a subfloor already so I’m just going to put the first slide out shelf directly on top of that. If I was starting from the garage floor I’d build a shelf frame (seen later in this post) first that is just slightly off the floor (shimmed with pressure treated wood or composite material to handle moisture that might come up through the concrete slab), and then build the first slide out shelf on top of that.

I’m making a track out of wood to hold the shelf in place and let it slide. I’m calling them slide guides, say that 5 times fast!
slide glides sly glys sigh glys sly guy shy guy
I first countersunk and screwed down, using an impact driver and construction screws, a 19 in long by 1 in wide by 7/8 in tall piece of wood that I ripped from a 2x4 on my table saw for the bottom of the slide guide. I made it 19 inches long which is half the length of the shelf (38 in) so that the shelf can only slide out halfway. Any father and you’d risk not having enough to support the shelf when it’s pulled out and/or the slide guide pulling away from or breaking off what it’s attached to.

I cut a 19” by 1 1/2” strip out of the 3/4” plywood shelving material to be the top of the slide guide and marked the screw locations on this top piece to be in between the screws of the base piece.
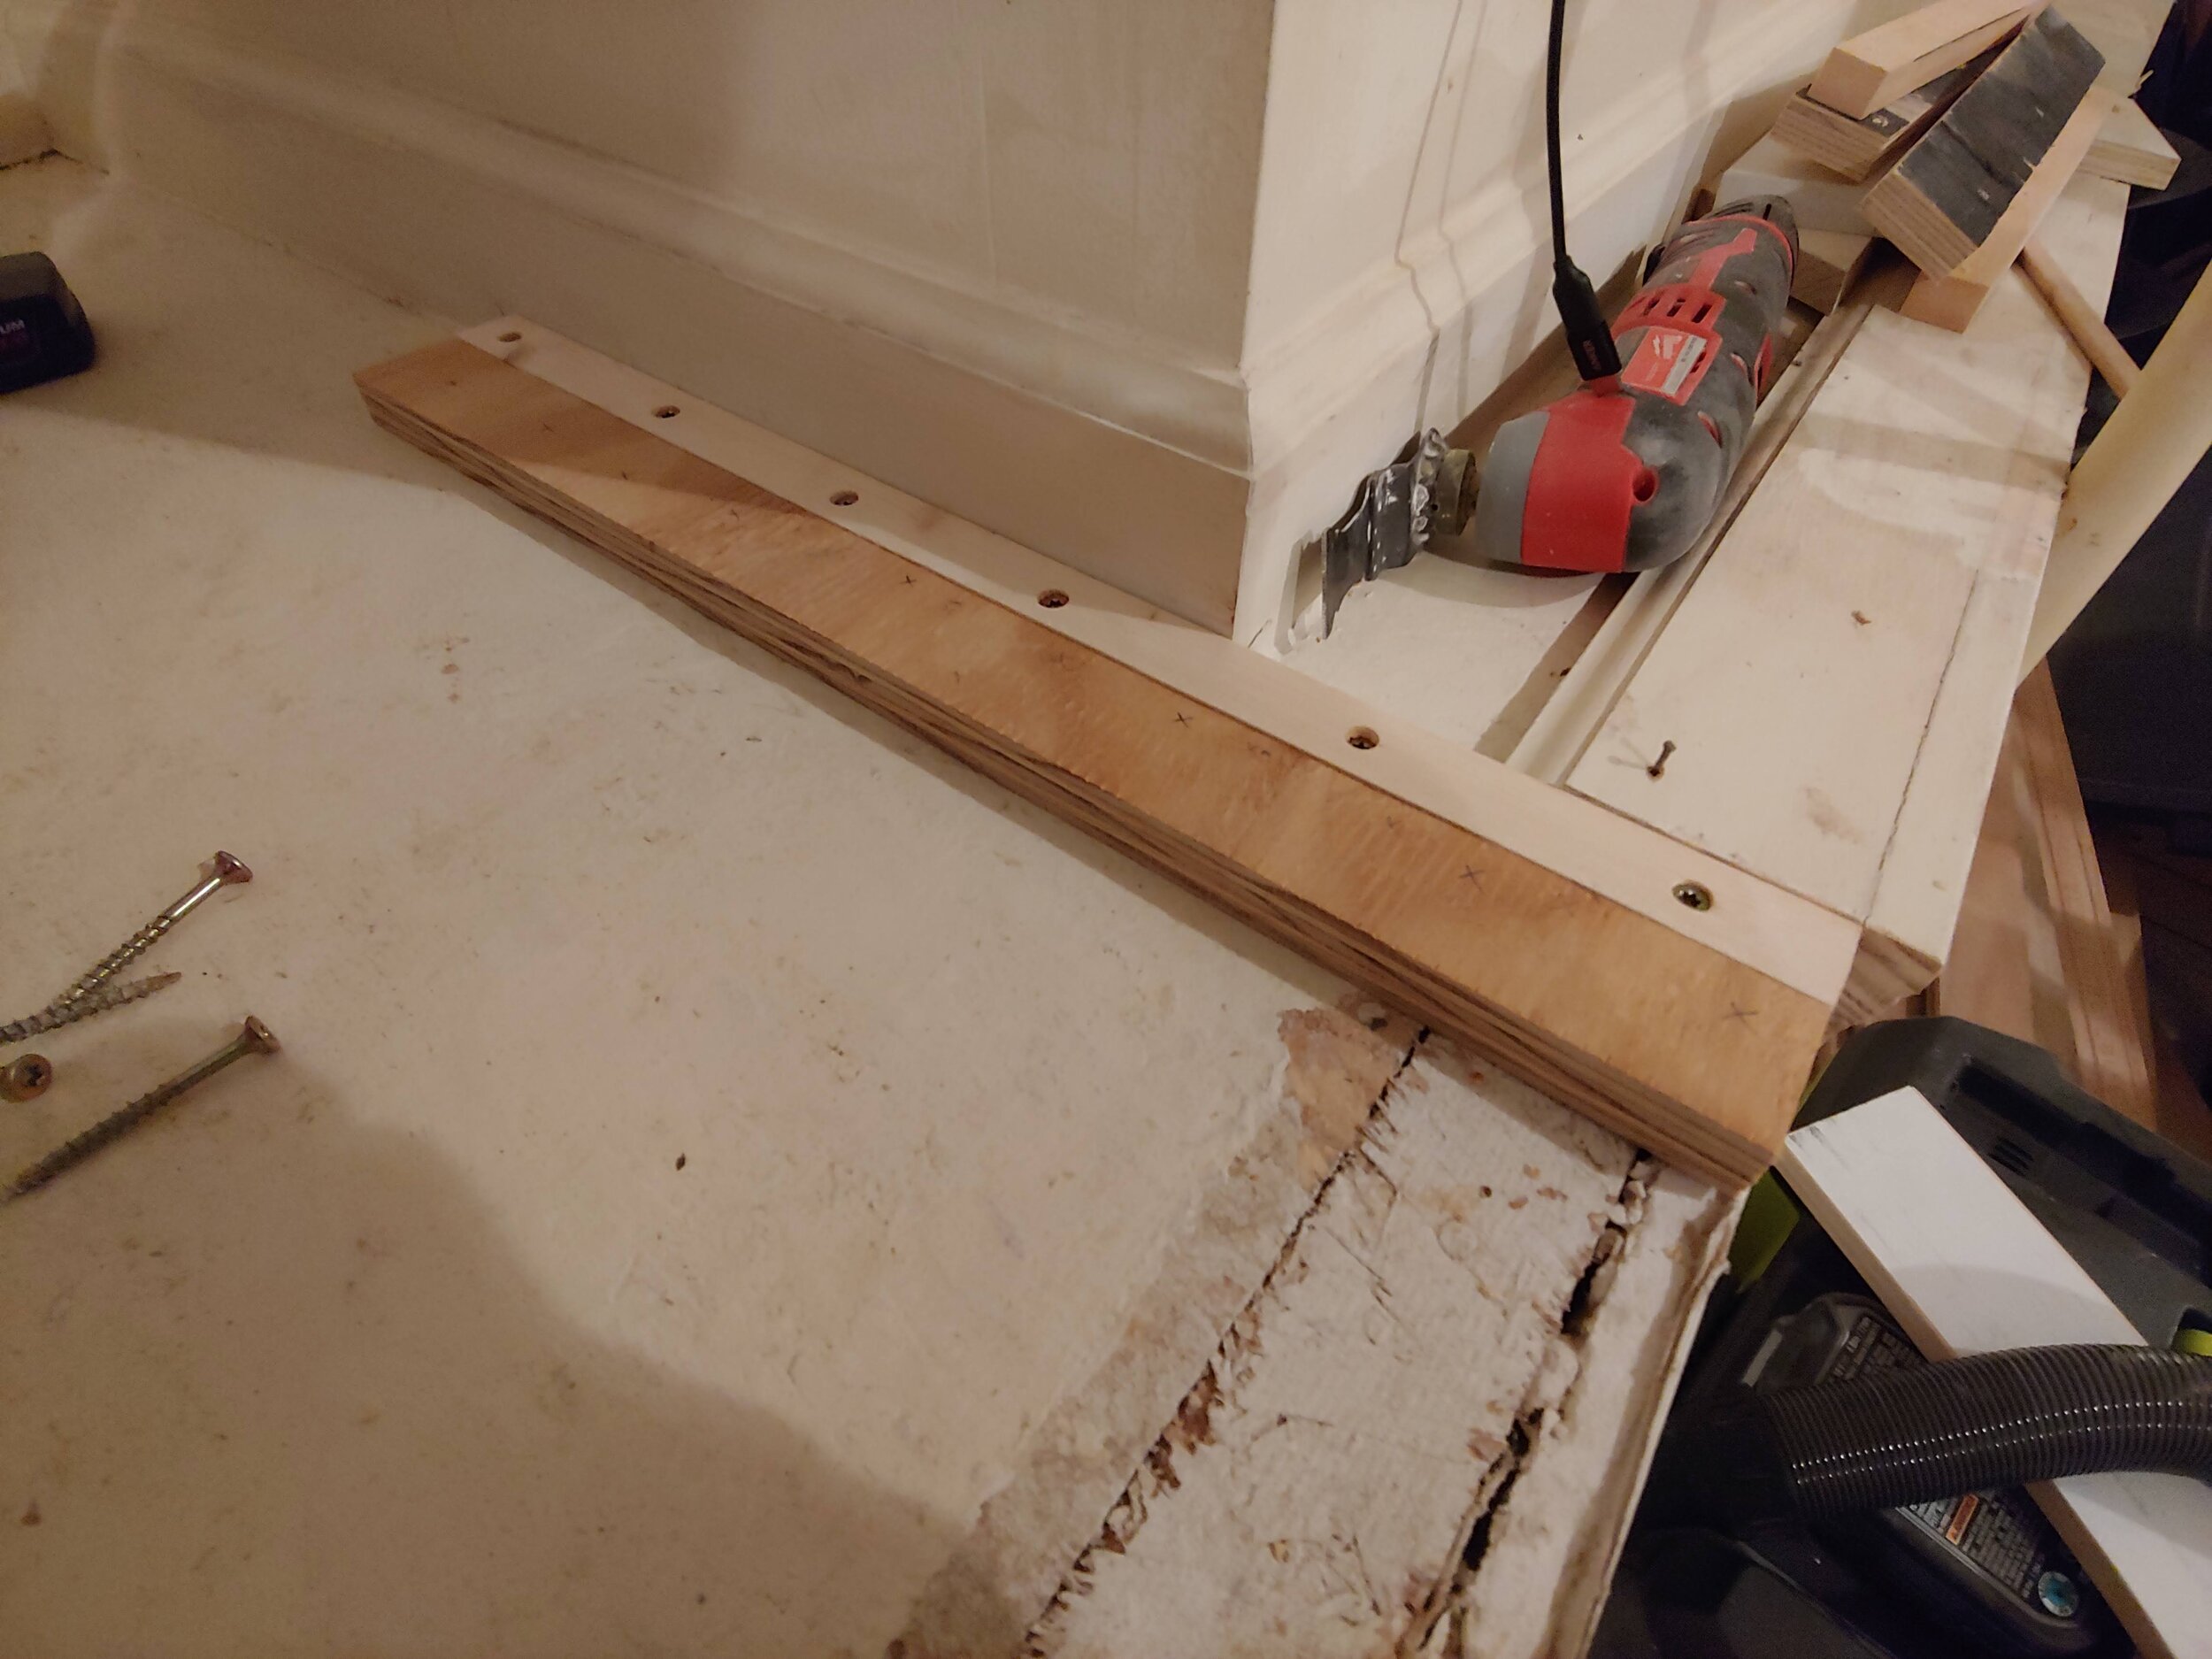
Then I countersunk and screwed the top piece down into the bottom. Make sure to predrill the holes on the ends of the base to prevent splitting! Something I would obviously never forget to do.

I repeated the slide guide for the other side and cut out a 22 1/2” by 38” by 3/4” piece of plywood for the bottom shelf. I cut a 4” by 2” hole in the shelf set back 1 inch from the front edge using my jigsaw to give me a handle to pull the shelf out with.

I put small wood screws in the back corners of the shelf to keep it from pulling out past the slide guides.

I cut and attached a long 2x4 set back about 3 inches at the side of the shelf that extends up to within a half inch from the ceiling. This piece gives the front edge of the shelf frame something to attach to. It was wobbly at first but stiffened up as more shelves were added.

Next, to make the shelf frame I mentioned earlier. I cut 2x4s using a speed square and a circular saw (my miter saw was MIA at the time) and built a frame for the first shelf out of the 2x4s, attaching them through the sides of the longer pieces into the ends of the shorter pieces using construction screws. I left the front piece off for now so this frame is 1 1/2 inches less that the total depth of the shelf will be.

I used a stud finder to find the wall studs (where possible), leveled the shelf frame in both directions, and attached it to the studs first with construction screws to hold it in place and then lag screws. The ones that I’ve linked in the materials are significantly easier to install than traditional lag screws. I put my shelves 18 inches apart, from the top of the lower shelf to the bottom of the shelf frame, as this was tall enough for me fit in most tools, or stack 2 storage bins I had on top of each other, and when repeated up the wall would leave a good size opening from the top shelf to the ceiling. I also screwed on the front of the shelf frame with construction screws.
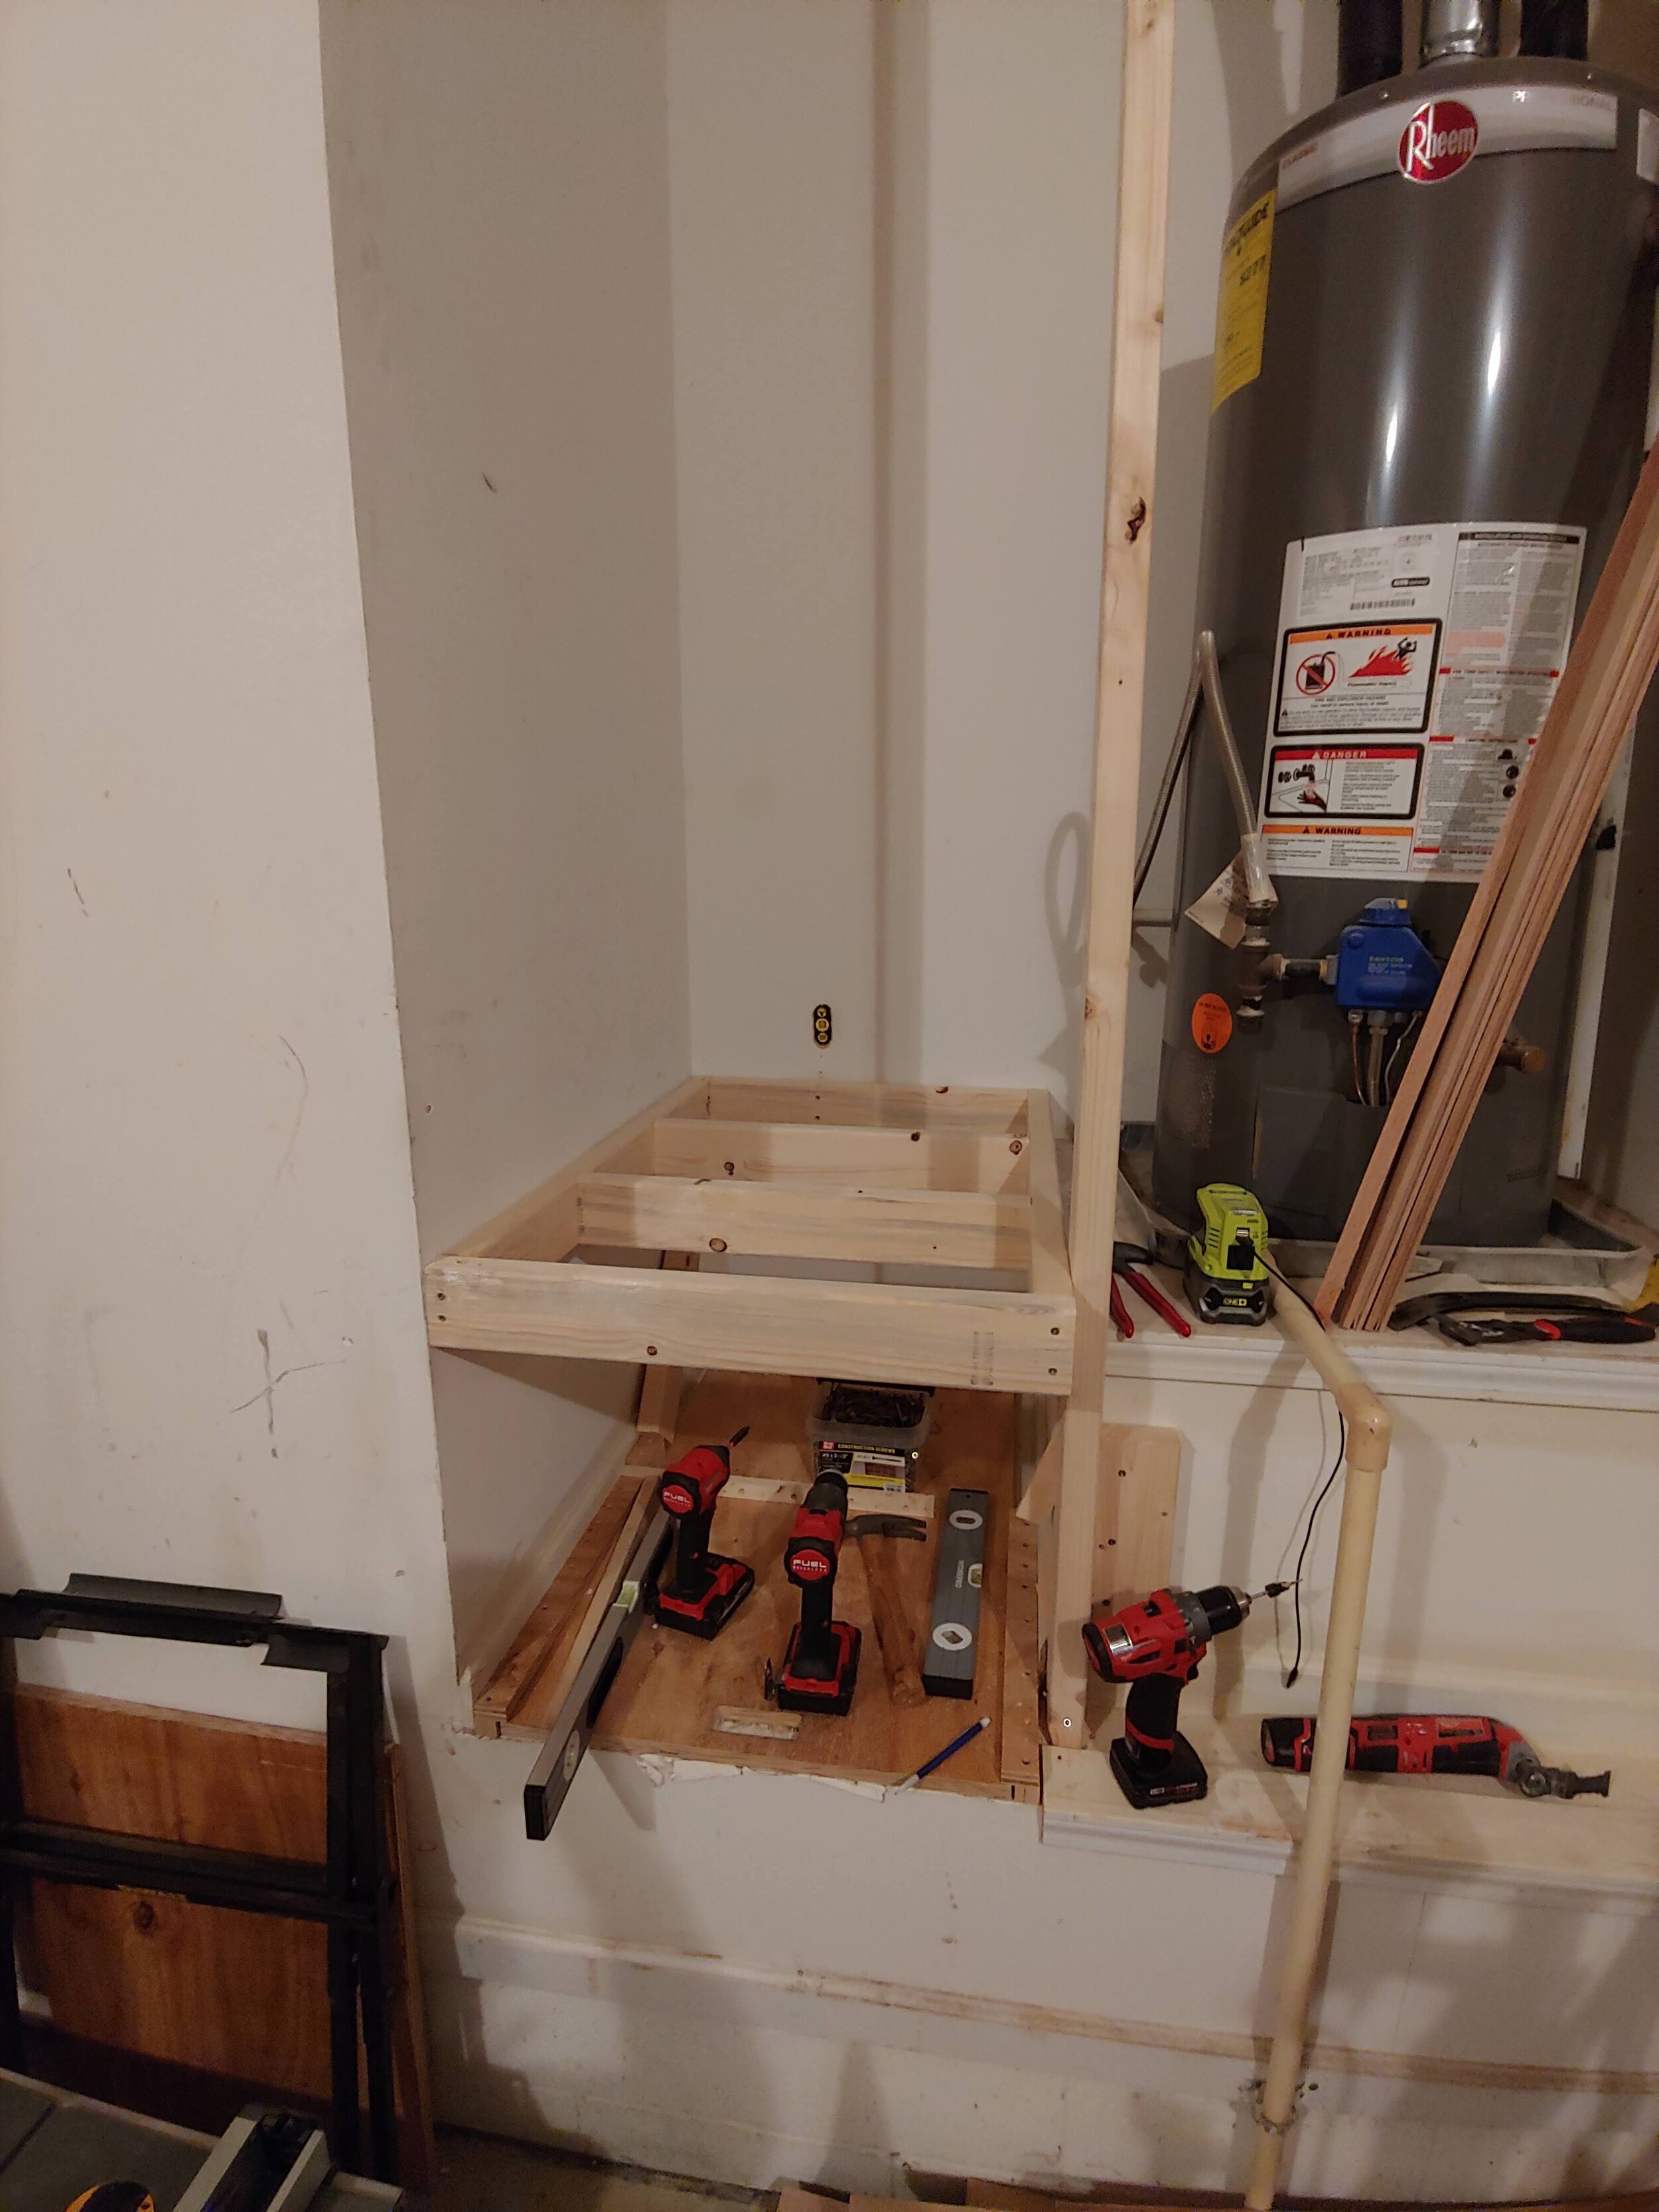
There isn’t a wall stud near the back right corner of the shelf frame so I added another long 2x4 here where the bottom rests on the platform below and the top ends just below the ceiling and screwed the shelf frame to it.

Then I added 2 more slide guides to this frame so it can also have a slide out shelf. Notice that I did NOT split these! (because I would never)

I added a small piece of 2x4 to the middle backside of the front of the frame which will be below the cut out for the handle hole in the shelf. This piece keeps your hand from being able to go all the way through the hole and getting pinched when you pull the shelf out. Ask me how I know…

Here it is after adding the next slide out shelf.

It’s the same process for adding the rest of the shelves except I pieced together a support from 2x4s that is 18 inches tall (the same distance as the first shelf opening) to hold each subsequent shelf frame to the right height. This made it a whole lot easier to level and put up the rest of the shelves and I highly recommend making a support like this if your shelves are going to be evenly spaced.

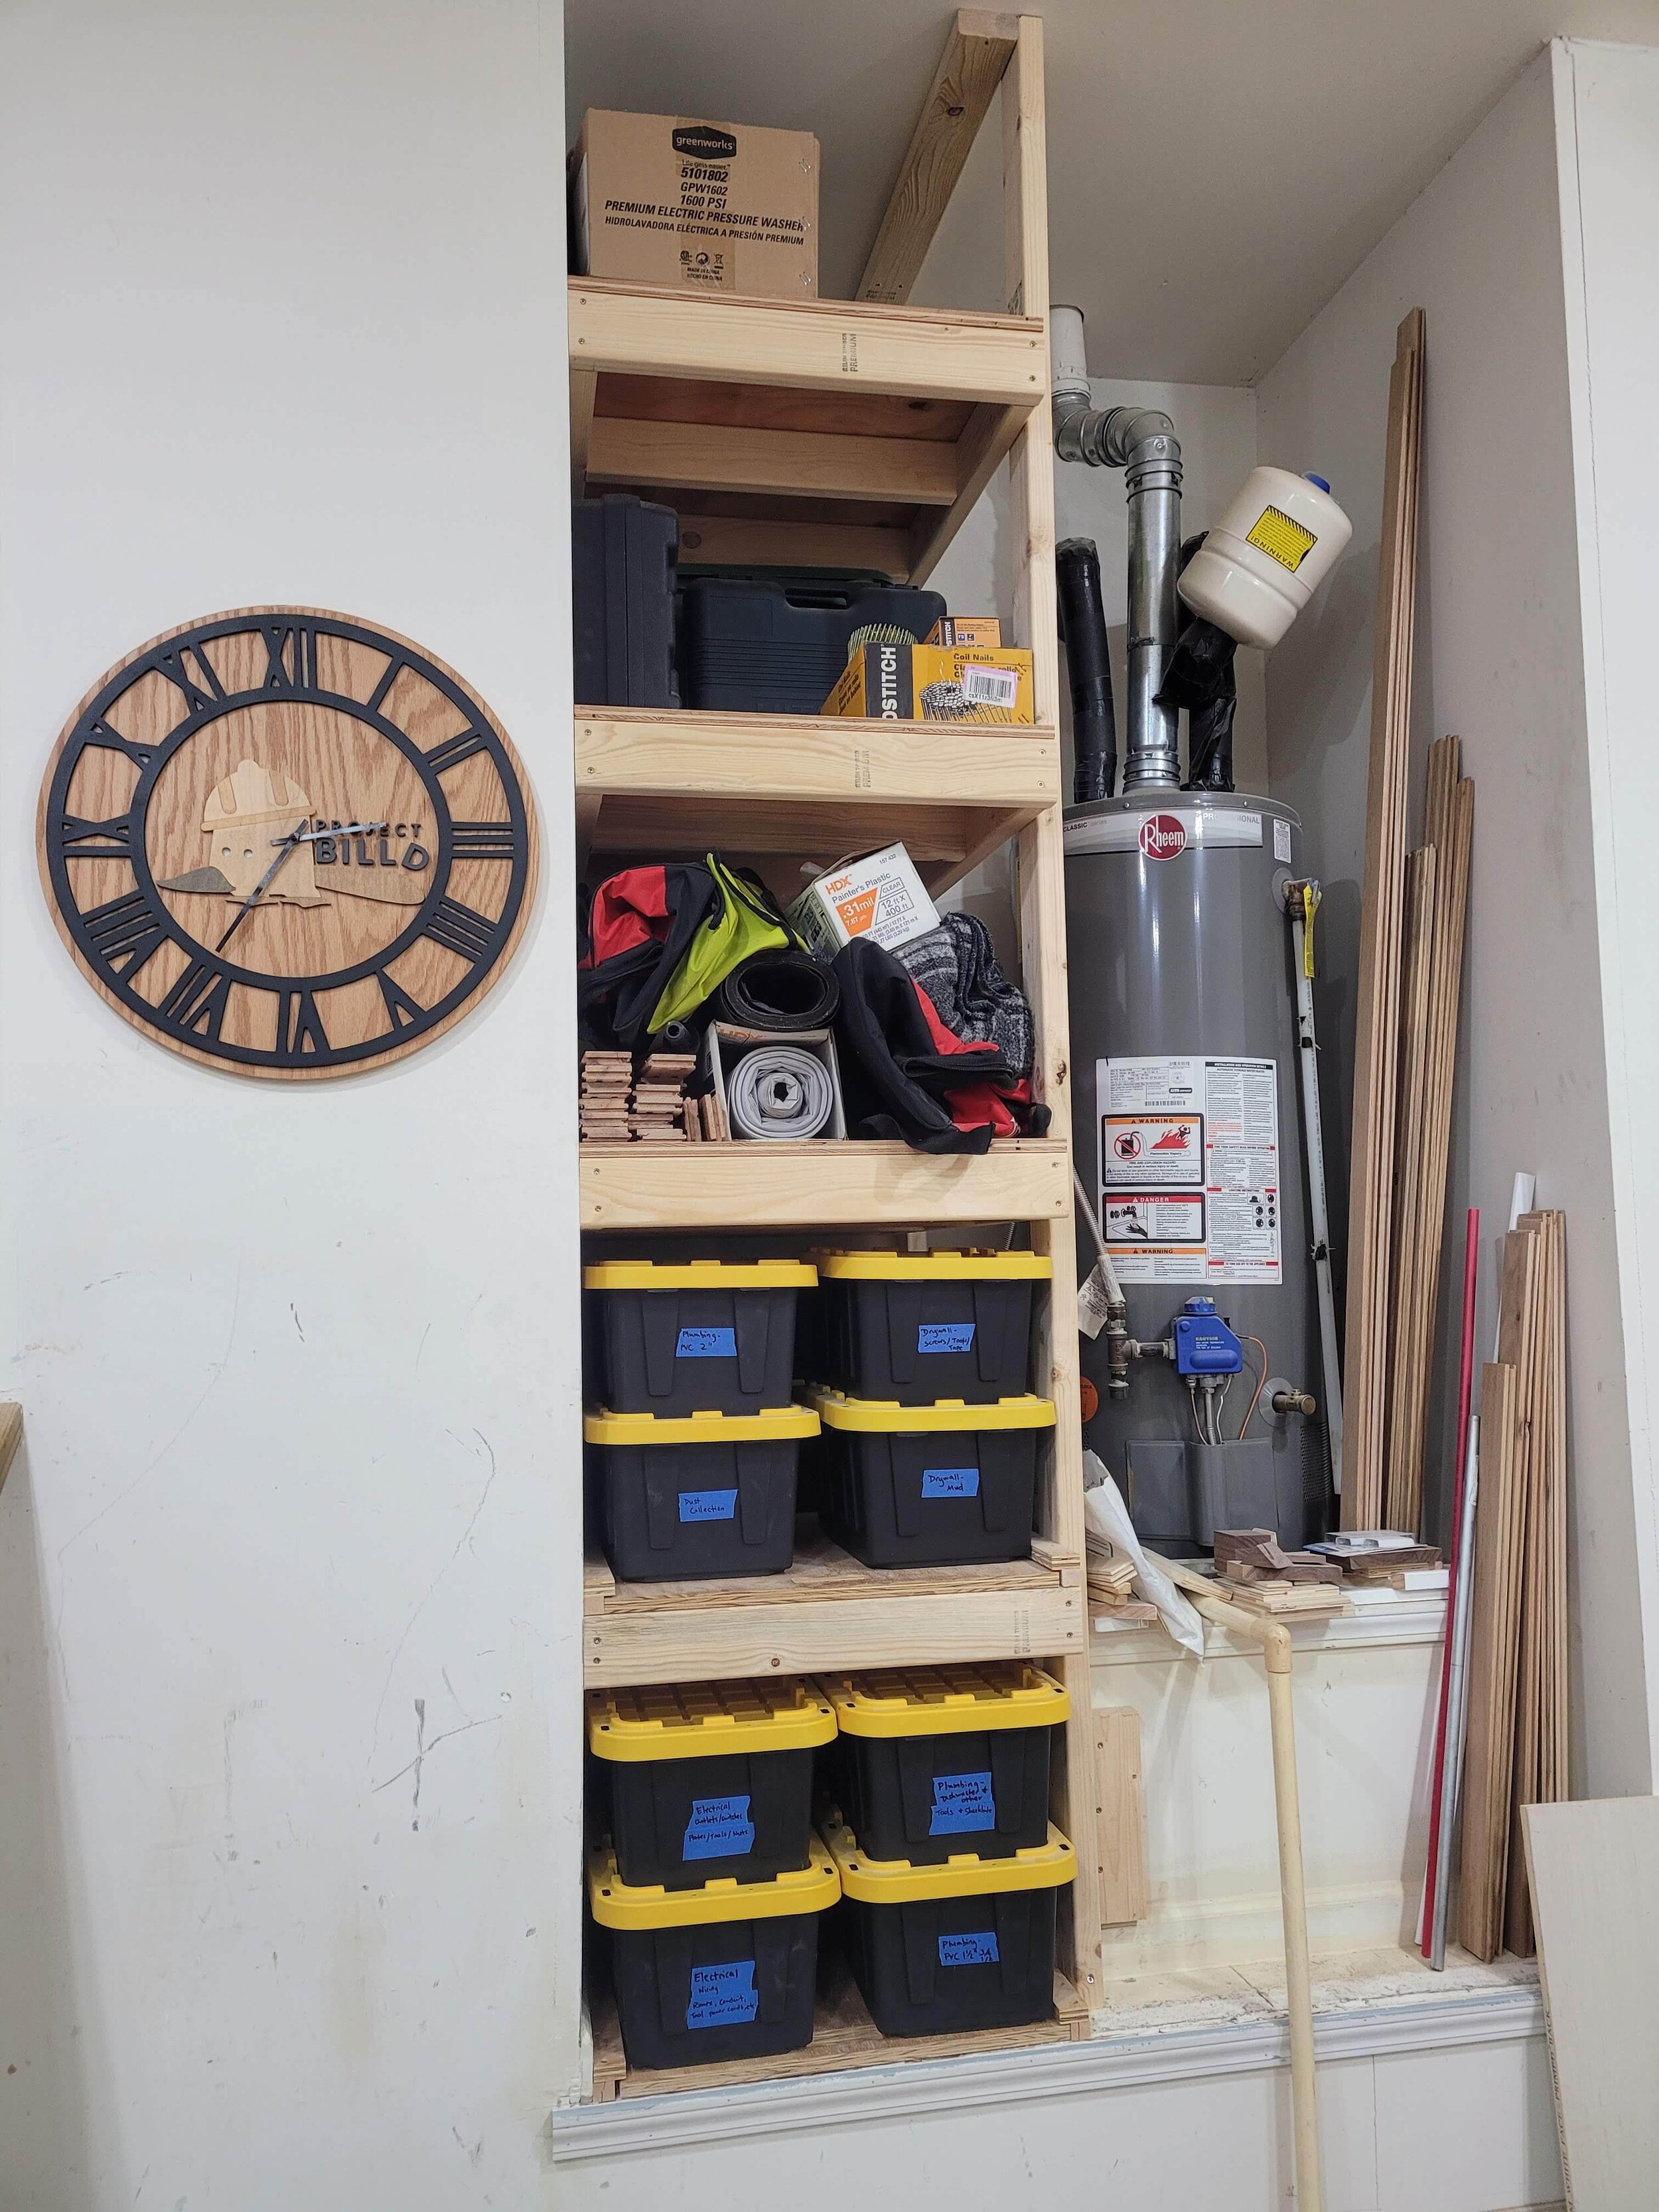
The shelves from here on up are too high off the ground for the slide out feature to be useful so I just cut a rectangular piece for the top and screwed it down using wood screws. In general, the further below arm level a shelf is, the more useful it being able to slide out will be.

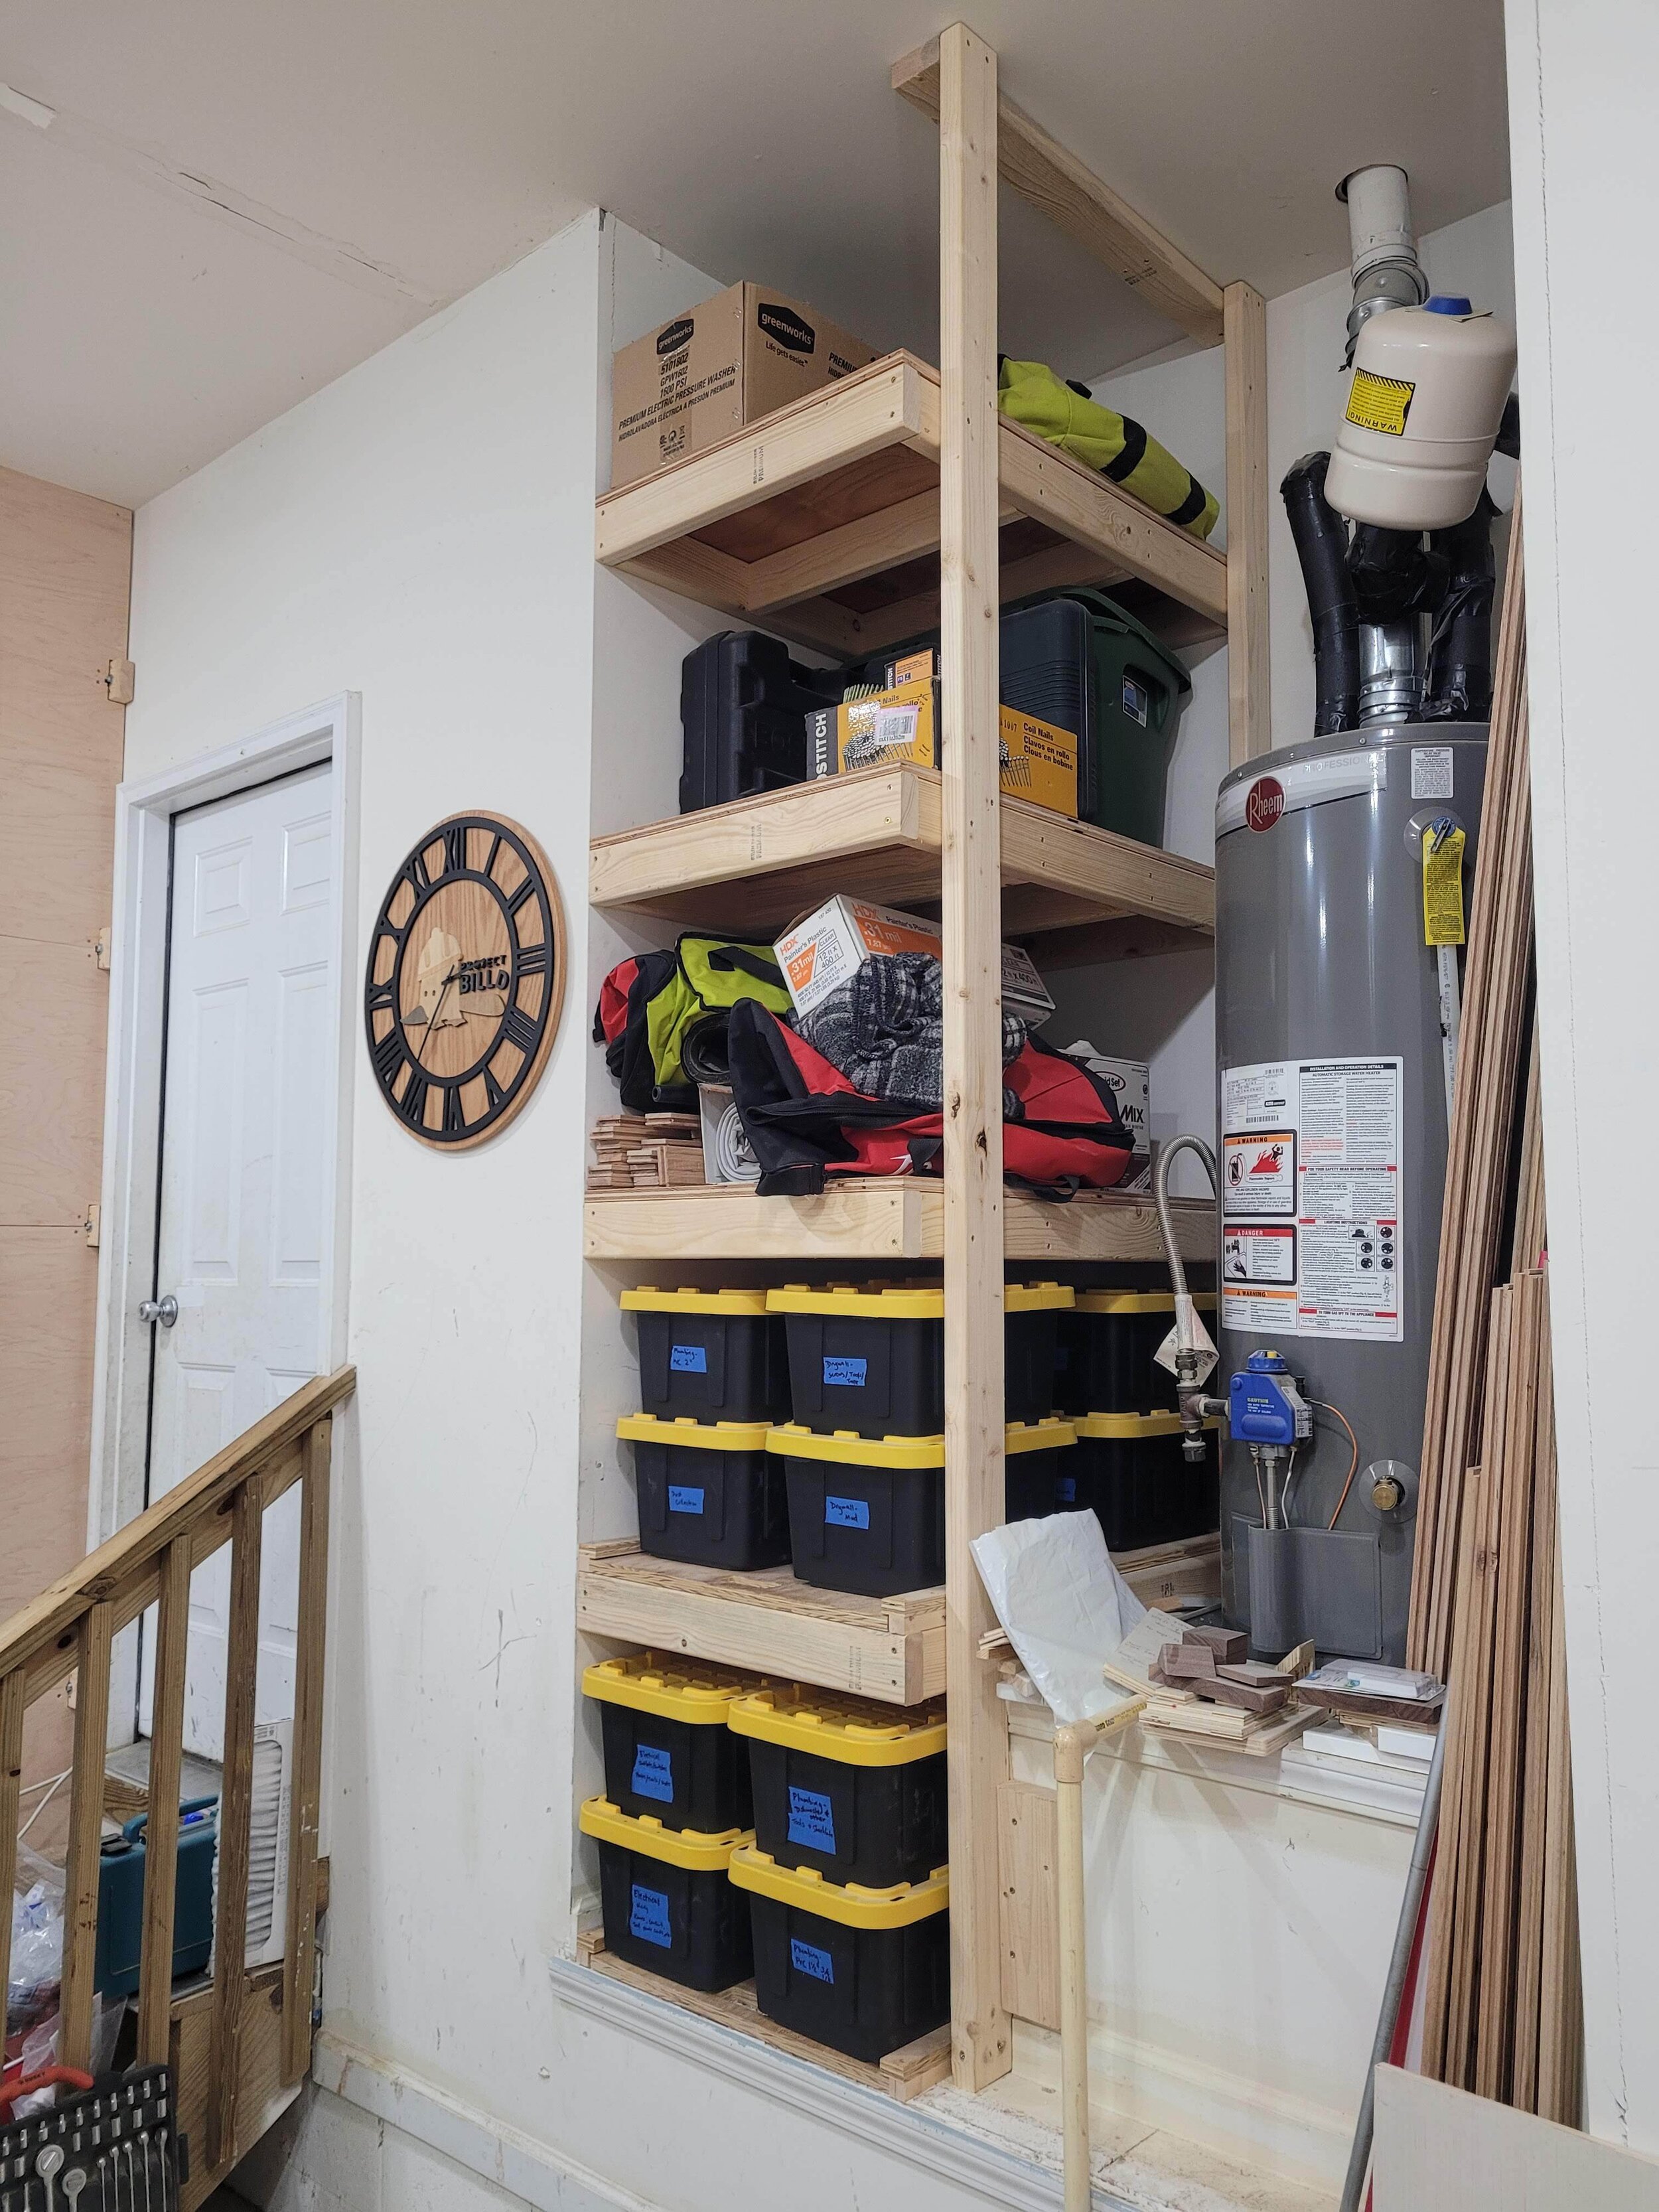
I added 2 more shelves up to the top. I also screwed a support to the ceiling joists and screwed the upright 2x4s into that. Now we can call this project done!

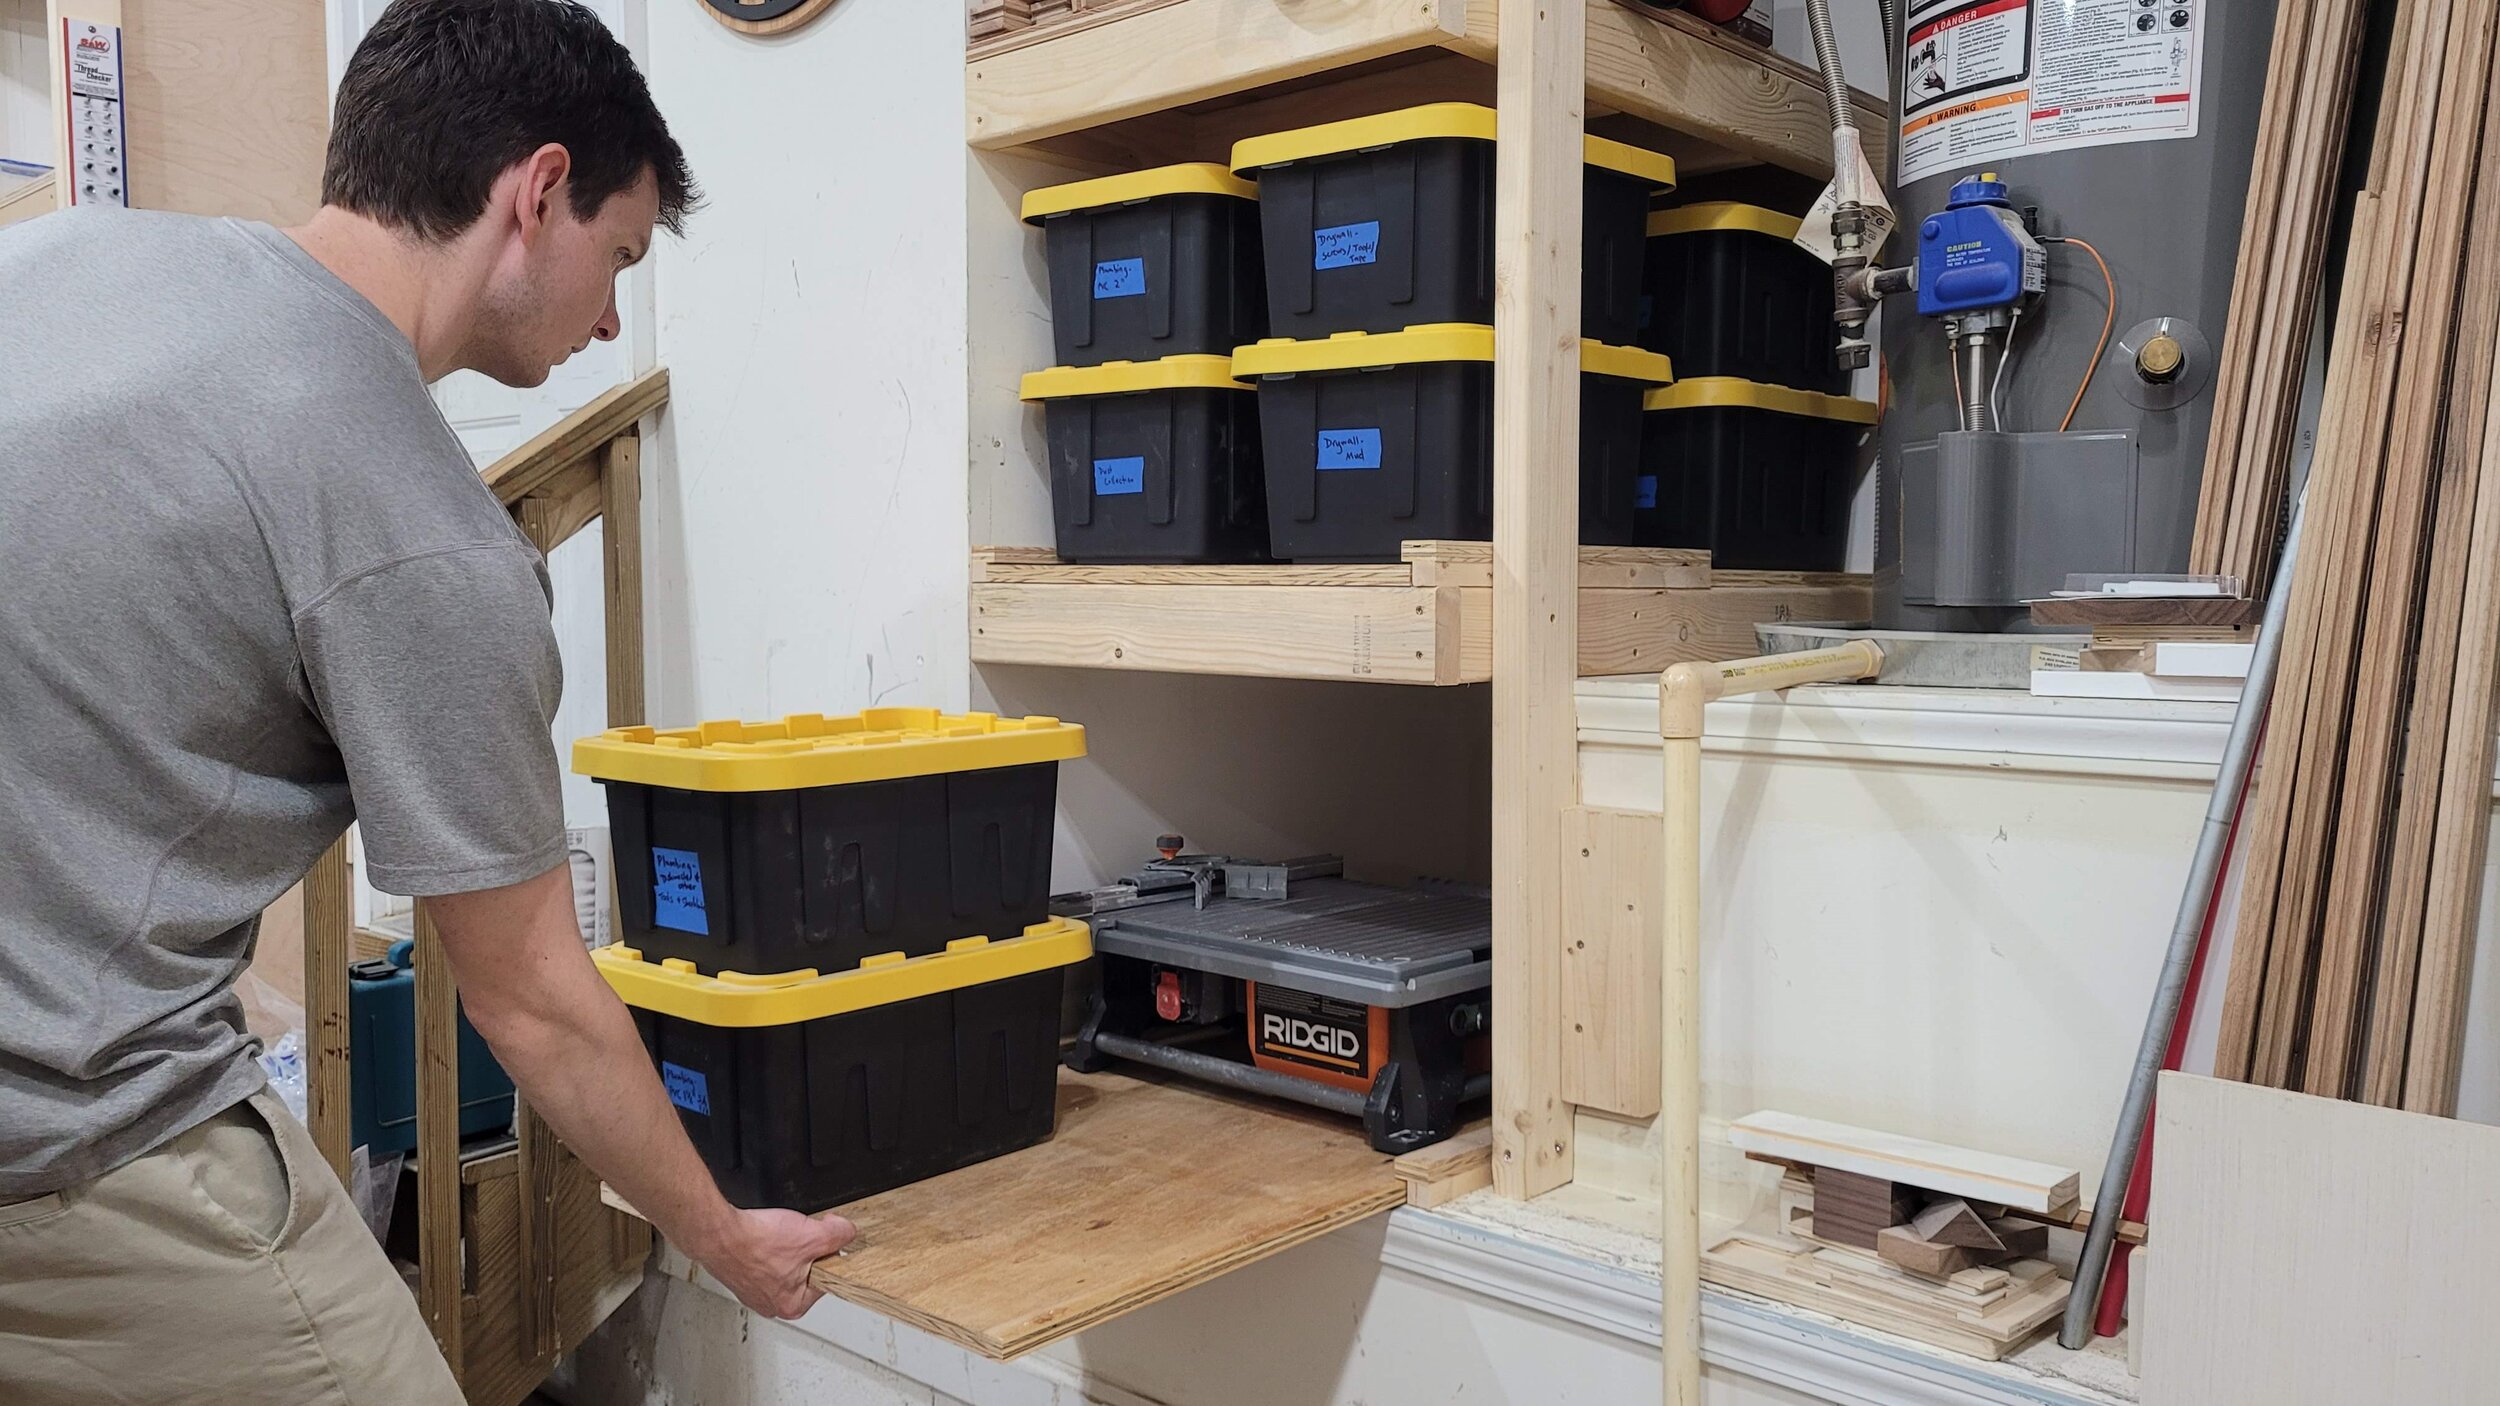
Next came the fun part of loading the shelves up with lots of tools and materials! The slide out feature lets me easily load a fairly heavy tile saw and hide it away.
These shelves provide a lot of space in an area that previously was mostly wasted space. They’re a big step in the right direction for me to clean up the garage and have an optimal working space. For now, I have to use a stepladder to reach the shelves up high but I have an idea in mind for a ladder system that I’m going to make that I’ll be able use to reach all the different shelves/lofts that I’m going to be putting in the garage in the future (and you won’t want to miss that!)
I'd love to hear any questions or thoughts about making the slide out shelves that you might have so be sure to let me know in the comments!
If you're not already subscribed to Project Billd content you can do that here and if you want to see more projects like this one be sure to check out my other projects on this site!
Until next time, Go Billd Yourself!
Don’t miss a thing!
Subscribe to get the latest content